
Images can be added to a post (or page) by using the Add Media button above the content window.
- Login to u.cotc.edu. First time users, please refer to the Getting Started Guide.
- Navigate to the post or page for which you would like to upload an image.
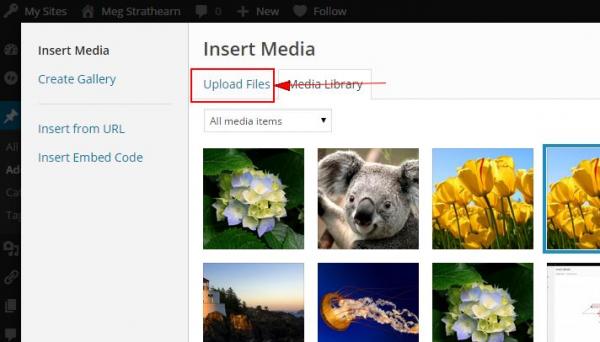
- Click on the Add Media button above the main content window. A pop-up appears.

- If you already uploaded images using the Media Library, select your image and skip to step #6.If you have not uploaded your images, click the Upload Files tab.
- You can upload images using one of two methods:
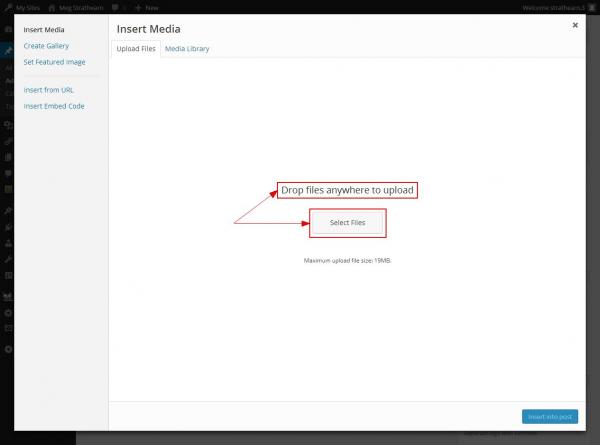
- Drag and drop the photo from your computer to the Insert Media area.
- Click Select Files. Find the appropriate file and choose the image.
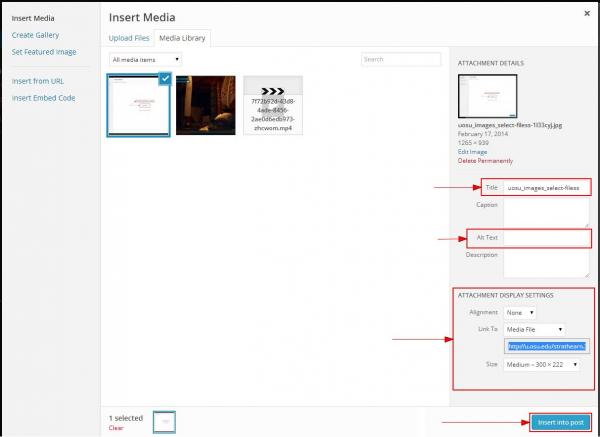
- After the upload is complete, the meta data information appears below. There are a number of options for adding/editing metadata such as title, alternate text, caption, etc. All fields, except Title, are optional.
TIP: We recommend including a description of the image in the Alternate Text field, as it will make your blog more accessible to visitors who utilize screen readers.
- Once you have filled in your metadata, use the Alignment and Size options to the positioning and placement of your image.
- Click Insert Into Post when you are satisfied with the metadata and formatting.
- Once you insert an image into a post, you can edit your metadata or image positioning:
- Click on the image. A selection of options appear. Click one of the four alignment icons to change the image position.
- Choose the Edit Image pencil icon to edit the image metadata. The Image Details pop-up appears.

- Adjust as needed and click Update.
